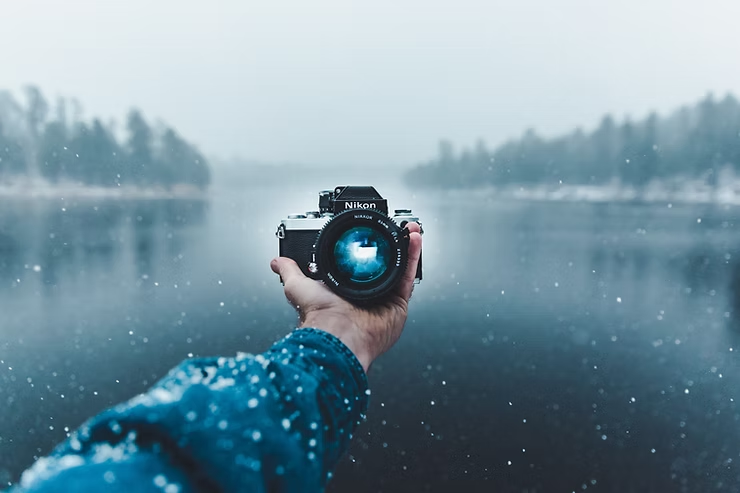
Welcome to your Photography Basics
- Dario Canada
- Jan 1
- 3 min read

Welcome to the Photography Basics Course. I am thrilled to help you transition from "taking snapshots" to "making photographs."
To answer your question directly: The absolute first lesson isn't about buying a better lens or learning Photoshop. It is understanding the Exposure Triangle.

Photography is, quite literally, "drawing with light." Your camera is just a light-proof box with a hole in it. The Exposure Triangle is the relationship between the three variables that control how much light hits the sensor inside that box.
Here is the breakdown of that first lesson, simplified.
The Exposure Triangle: The Window Analogy
Imagine your photograph is a room that you want to fill with sunlight. You have a window with curtains. To get the perfect amount of light (perfect exposure), you have to balance three things:
Aperture (The Size of the Window):
This is the opening in your lens. A large window lets in a ton of light quickly; a tiny peephole lets in very little.
Creative Effect: This also controls Depth of Field. (Do you want a blurry background or everything in focus?)
Shutter Speed (The Curtains):
This is how long the sensor is exposed to light. You can open the curtains for a split second or leave them open for minutes.
Creative Effect: This controls Motion. (Do you want to freeze a running dog, or show the silky movement of a waterfall?)
ISO (Your Sensitivity):
Imagine you are wearing sunglasses inside the room (Low ISO) vs. wearing night-vision goggles (High ISO).
Creative Effect: Raising the ISO allows you to see in the dark, but it introduces "noise" or grain to the image, degrading the quality.
Why this is Lesson #1
If you leave your camera on "Auto," the camera makes these three decisions for you. It tries to make the image "bright enough," but it doesn't know what you are shooting. It might choose a slow shutter speed for a sports car (causing blur) or a high ISO for a portrait (causing grain).
Learning the Triangle gives you back the control.

Pro Tip: Don't try to master all three at once. Start by trying "Aperture Priority" mode (marked as A or Av on most dials). You pick the Aperture (window size), and let the camera do the math for the rest. It’s the perfect bridge between Auto and Manual.
We will dive deeper into each of these modes to help you understand when and how to use them in the best way, to take the best of each one.

Before we officially begin your training...
To tailor this course specifically to your needs and ensure you get the most out of our sessions, I need to know a little bit about your starting point.
Please tell me:
What equipment are you currently using? (e.g., A Canon DSLR, a Sony Mirrorless, an iPhone 15, or perhaps a film camera?)
What is your biggest frustration right now? (e.g., "My photos are always blurry," "I don't understand composition," or "Night photos look terrible.")
Once you answer, we will dive into your first actionable exercise.
Leave a message or write a comment So I can get back to you and address your furstrations/challenges! Lets turn them into works of art!


Comments